Showing posts with label top. Show all posts

Monday, June 16, 2014

I made a nettie!

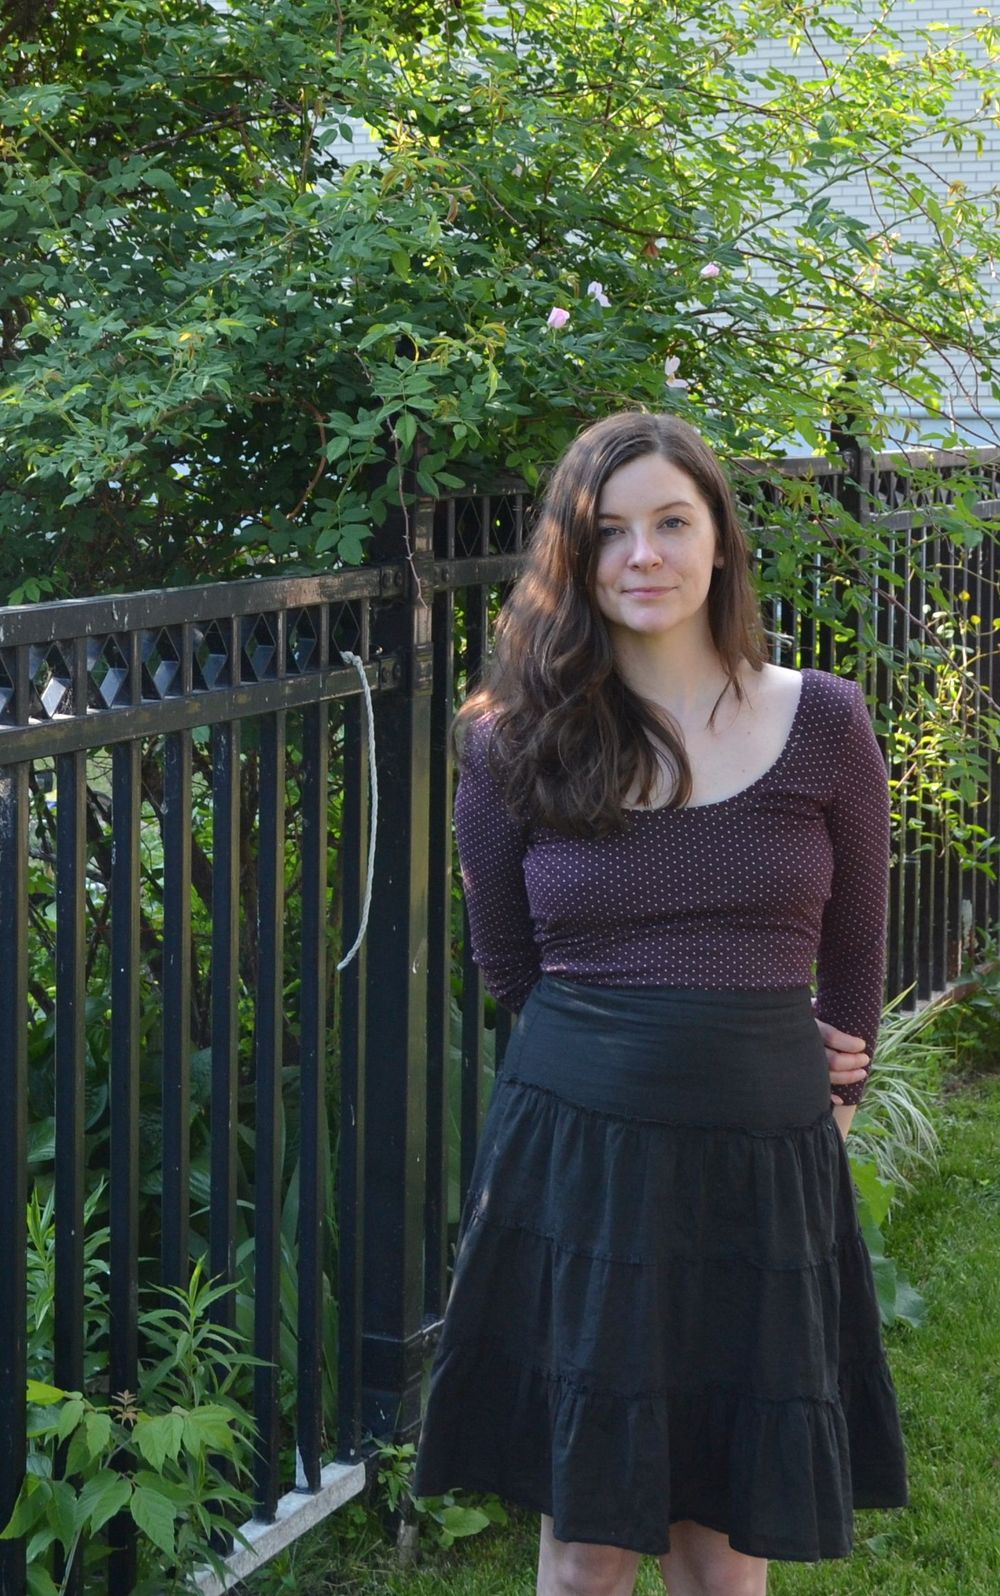
brown polkadot nettie


I made a closet case files nettie! I fell in love with this pattern as soon as I saw it, and knew I wanted to give it a try even though I have not tried sewing with knits in years, and don't really like bodysuits that much. I'm glad I gave it a try because even though it didn't turn out perfect, it does make me feel like a total babe, which is rare for me and very nice! Such is the power of the nettie.
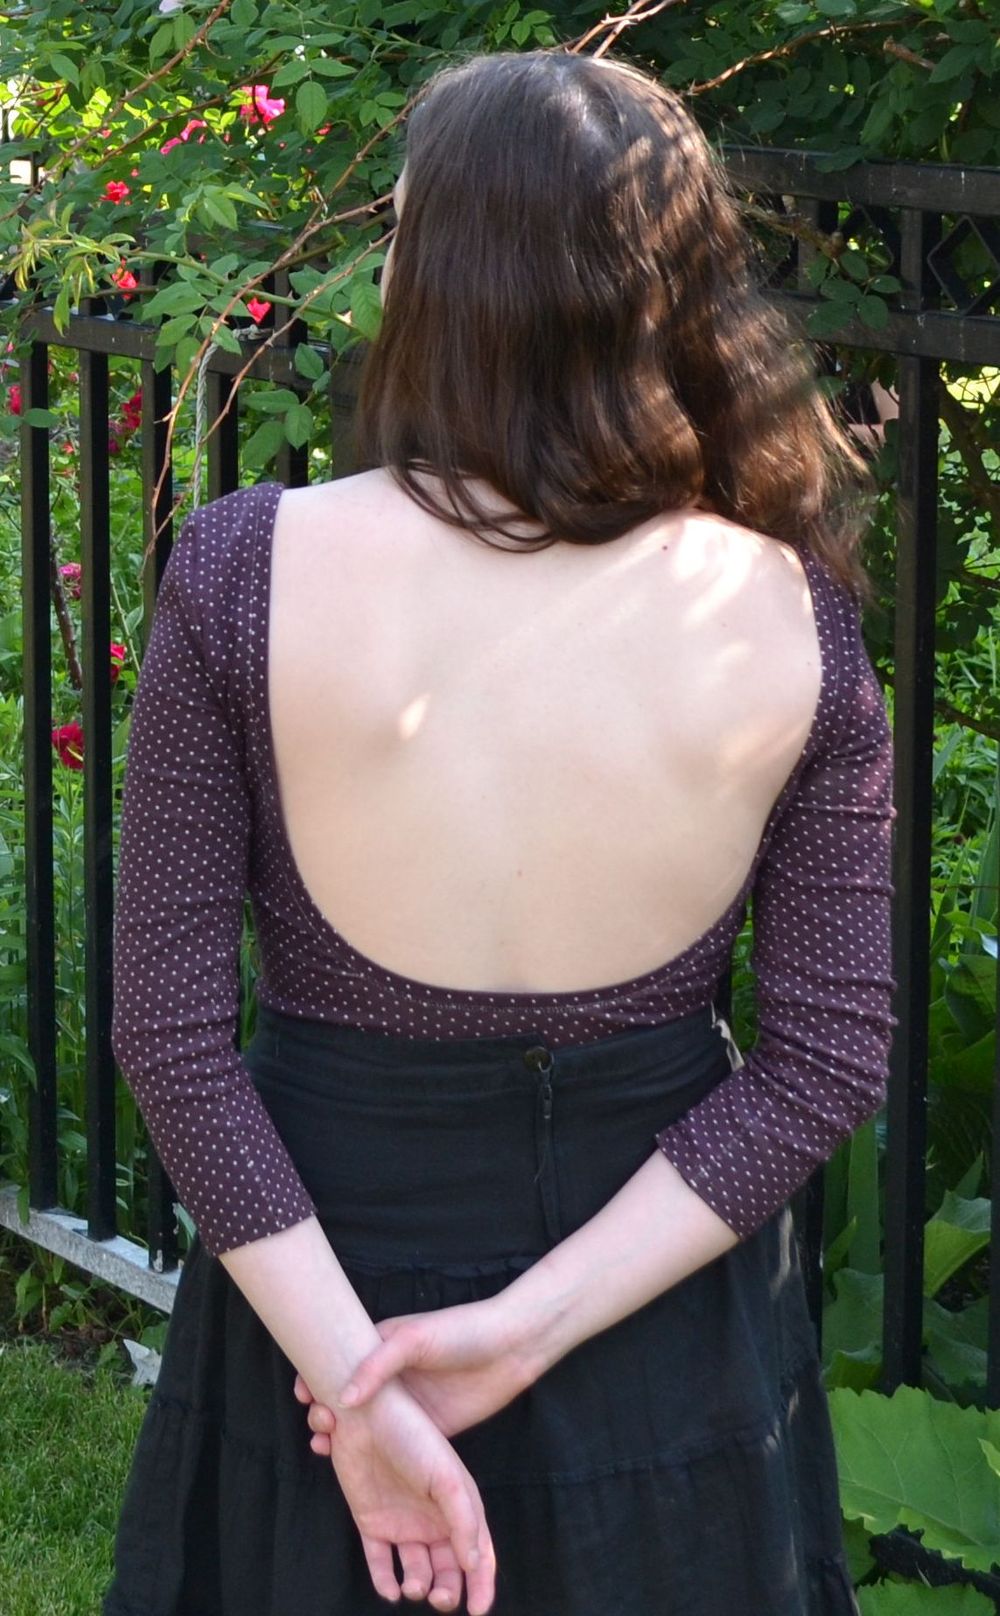
brown polkadot nettie back

Sewing notes

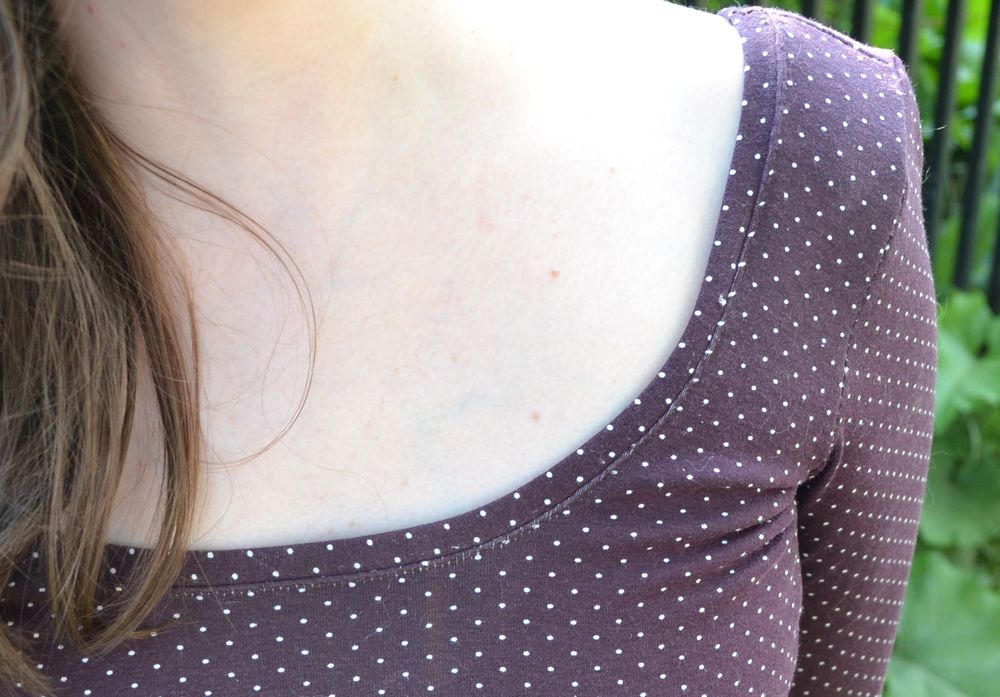
I made it in size 8 which would be size 6 in the current version. I really like how dramatic the low back view is, and I find scoop necklines to be flattering so that was what I decided to try. One of the silver linings of having a small chest is not needing much support, so I only included the shelf bra, not the cups. For my A cup the shelf bra feels like it has about as much support as a regular soft bra, so I'm pretty pleased with how it turned out. Having not sewn much with knits I struggled a bit with the neckband. I had to rip out my first try because it was uneven. Ripping zigzag is time consuming! Advice for knit novices: zigzag binding along edge before sewing in, as my major issue the first time was the neckband curling as I stretched it, which led to unevenness. Also I found it much easier to sew in when I added extra pins between the main four which are measured. I cut it to be a long shirt instead of bodysuit, as when I pulled it down to close the snaps I didn't like how low it made the neckline on me.
The only negative I have for my version (first try!) is that the shoulders are a bit prone to slipping. Not a top for dancing or vigorous activity. I'm not 100% on why it's happening. A couple guesses are that the shelf bra is pulling the back too far forward (the side seam is certainly very pulled forward), or I need to make a bigger size, or maybe my fabric has no lycra? The content was unmarked so I could only test stretch percentage.

I loved making it and I have plans for like... six more. So highly recommended if you were thinking about giving it a try!

Friday, May 9, 2014

Datura refashion / wearable muslin

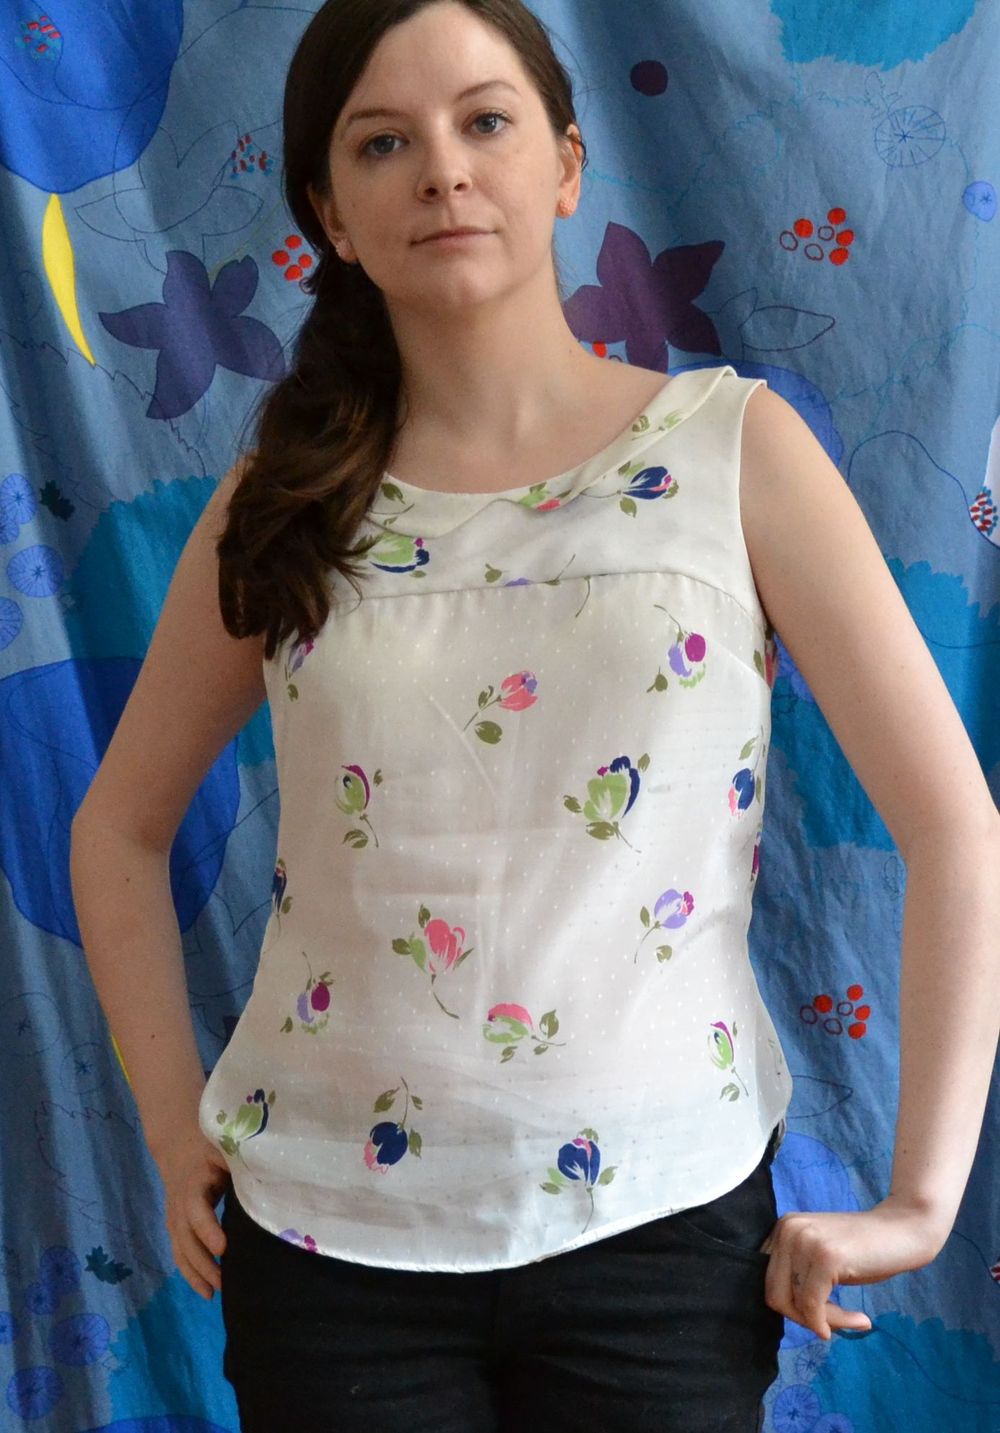
front

Lately most of my sewing projects have been failures, and I really can't gather the will to blog about them. This one almost ended up in the failure pile too, but a couple of rough on the fly fixes and I ended up with a top I'll actually wear! 
This is the Datura blouse from Deer and Doe Patterns. You've likely seen this one around! I'm pretty broke so I consider indie pattern purchases a bit of a luxury. It took me a long time to cave and finally buy this pattern. I already have three more planned so I think it will be worth it!

Pattern Notes:

I started  with the size 38. I know doe and deer patterns are sized for a c cup bust, which obviously is not me! This is actually my second try with a D&D pattern. I have a failed Belladone stashed away, waiting for me to deal with it sometime. For the Belladone I did a small bust adjustment, but for some reason this time I skipped it. 

My first hurdle with the pattern came with sewing the yoke together. I could not for the life figure it out. I spent quite some time searching online for someone to explain it, and that just turned up either people linking to a dead french link explaining it, or just commenting on how ingenious the construction is. Ha! I felt like a bit of an idiot. 

Anyways: you turn the front yoke piece so that it is right side out, then place it inside the back yoke piece! ugh. For some reason the wording in the pattern completely threw me. I might try to make a mini photo tutorial to replace the dead french one in case anyone else is out there on the internet confused as hell by this pattern!

Once the yoke was figured out I tried my WIP and the fit was pretty bad on me. The bust dart was quite a bit too low and the whole thing overwhelmed my small frame. In progress fixes I did:
1) take up the straps 3/4"
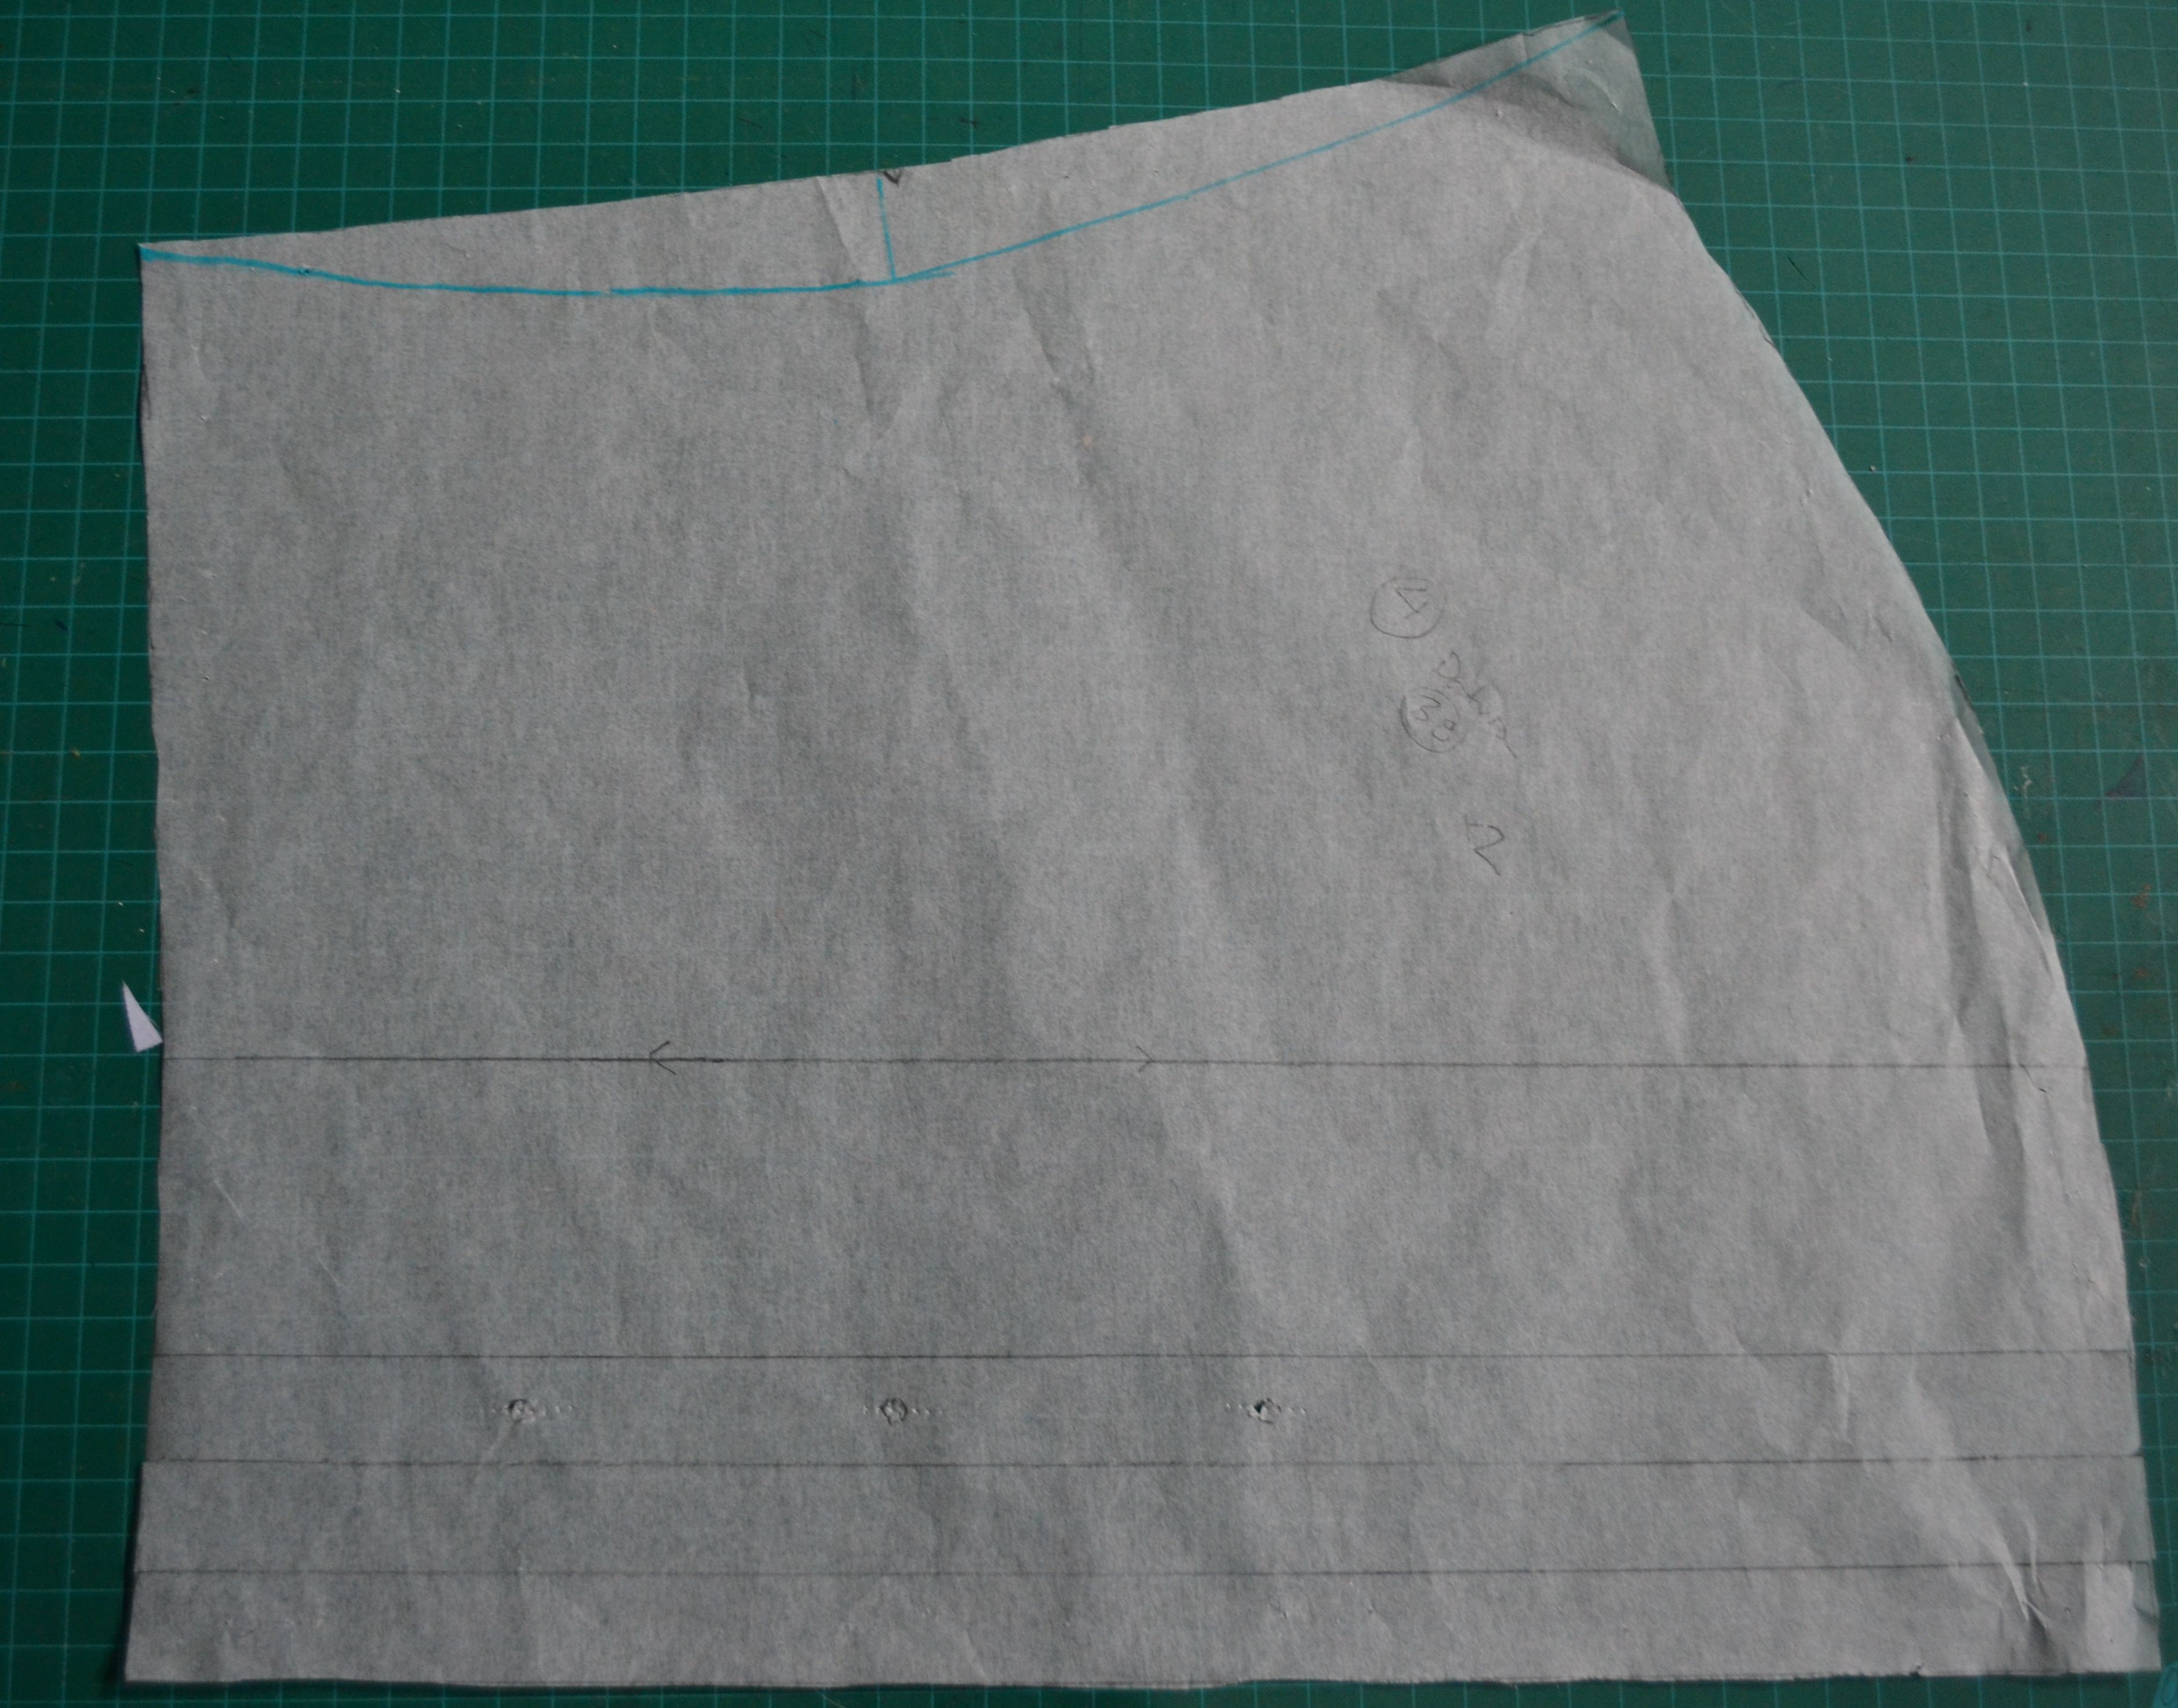
2) drawing a waist shape into the body like so:


Fabric notes:

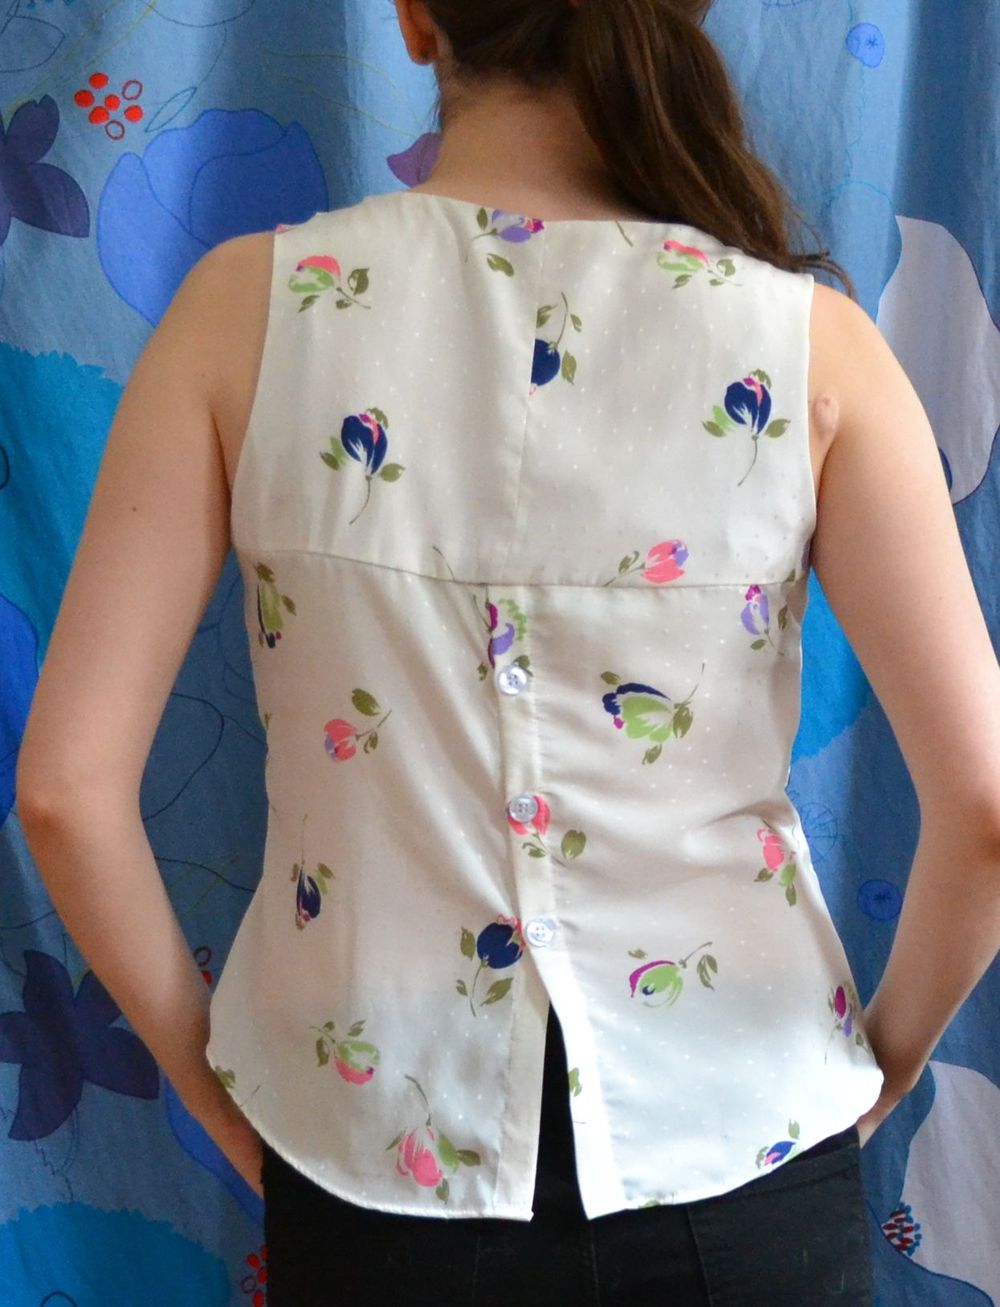
datura back

This is actually a refashion from an old unflattering dress I was holding on to because I liked the print. It's a light weight poly and was a little tricky to work with. I'm a still a novice when it comes to slippery fabrics!

I've changed my stash diet rules a bit to deal with my particular situation, which includes lots of potential refashions. Any one finished refashion project (even if it used more than one old piece) counts as one complete "stash" fabric. So not great for counting used up yardage but what I need to get my sewing corner under control!

...Actually I'm just off to visit fabricland on this lovely (warm! sunny!) spring day, and likely use up my whole earned fabric allowance of three pieces!


Monday, July 8, 2013

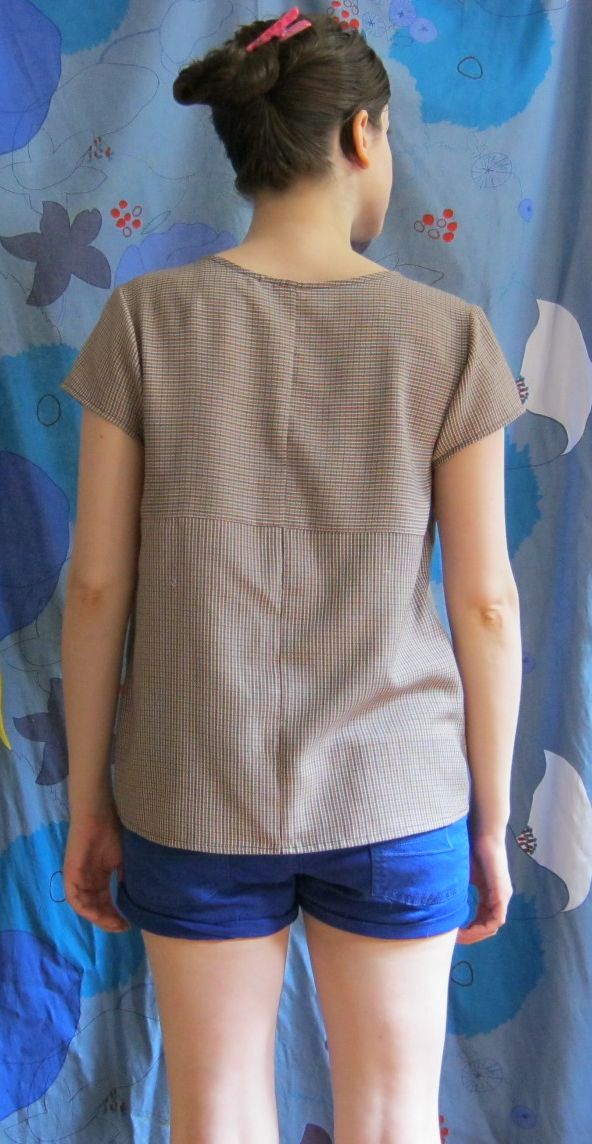
Project Complete: Scout woven tee


I actually finished an item for a sew-along! I'd been eyeing the grainline studio patterns for a while now, so when I saw that there was a sew-along for the scout woven tee, I was excited to give it a try. I don't generally find loose styles very flattering on me (short with a small frame), but I was interested enough in this pattern to try something outside of my comfort zone. I'm glad I did! The floaty style is lovely in this heat!


This is actually a make do and mend type project - I was worried enough about the style suiting me that I thought I would try and make it out of an old mens skirt I had lying around. It is a poly/cotton blend and one of the softest drapey fabrics I've ever worked with. I tend to be a bit of an anti-poly snob, but this fabric is lovely.

Here's a close-up of the print - a very small scale plaid.


I had to do some creative cutting to have enough fabric, but I actually like the look.


Patterns notes:

I used size two on the top, and traced out to 4 on the bottom, other than that no changes!


Just to prove I'm serious about this sewing blogger thing I present a picture of my cat getting in the way.

Thanks for checking out my post!


Thursday, July 4, 2013

Project Complete: Burda Bodice and half circle skirt


This is a Burda pattern from the 04/2013 issue. When I first bought this issue this pattern was one of my favourites, but a pretty impractical choice for me seeing as how it needed to be matched with a high waisted item. This inspired me to make a simple half circle skirt (my first!) to fill in this hole in my wardrobe. I also have a few nice vintage blouse patterns which I have been wanting to try out, so this skirt will hopefully come in handy. I used the awesome drafting instructions from this post at byhandlondon, and construction tips from elegantmusings. I used some light chambray I got downtown for 10$ a yard, and the skirt took about 1 1/4 yard to complete. Making this was incredibly easy and relaxing and I definitely plan on making more. I really like the more casual silhouette of the half circle skirt. 


For the Burda pattern I used some fabric from a damaged yukata I found in my highschool stash, which I recently had to sort through as my parents are selling their house of 21 years. Pretty much my stash just doubled - one thing that prompted me to join the stashbusting challenge! I am fast running out of space in my shared one room apartment... 

Wish I'd noticed how wonky the buttons looked before I took this picture.


Pattern notes:

Like I generally do with Burda patterns now I made it in the size down from what my measurement would call for as the correct size, in this case 36. Instead of using hook and eye tape like the pattern called for I added a button placket, and am still not positive I did it correctly (I think I might have added too much to the front about an extra inch? I ended up taking out an inch dart in the back - opps). I aligned the straps in 1/2 inch and removed 1/4 inch slant at the shoulder seams for to sloping shoulders. I also lowered the back panel 2 inches, and took 1/2 inch off of the sides on both centre panels. I think that's all?


I've been reading a lot about fitting methods lately so I think I went a bit overboard, I'm not certain beyond the back centre piece anything really needed to be messed with so much. It's funny that in the image above the top has gotten caught on the waistband of the skirt and looks so sloppy! But I only took a couple pictures of the back and this the better one.


I also noticed I actually have a few followers on bloglovin (!) - so I'm going to sign up and add a link, even though since the demise of google reader I've been following people with feedly.

Thanks for checking out my project!