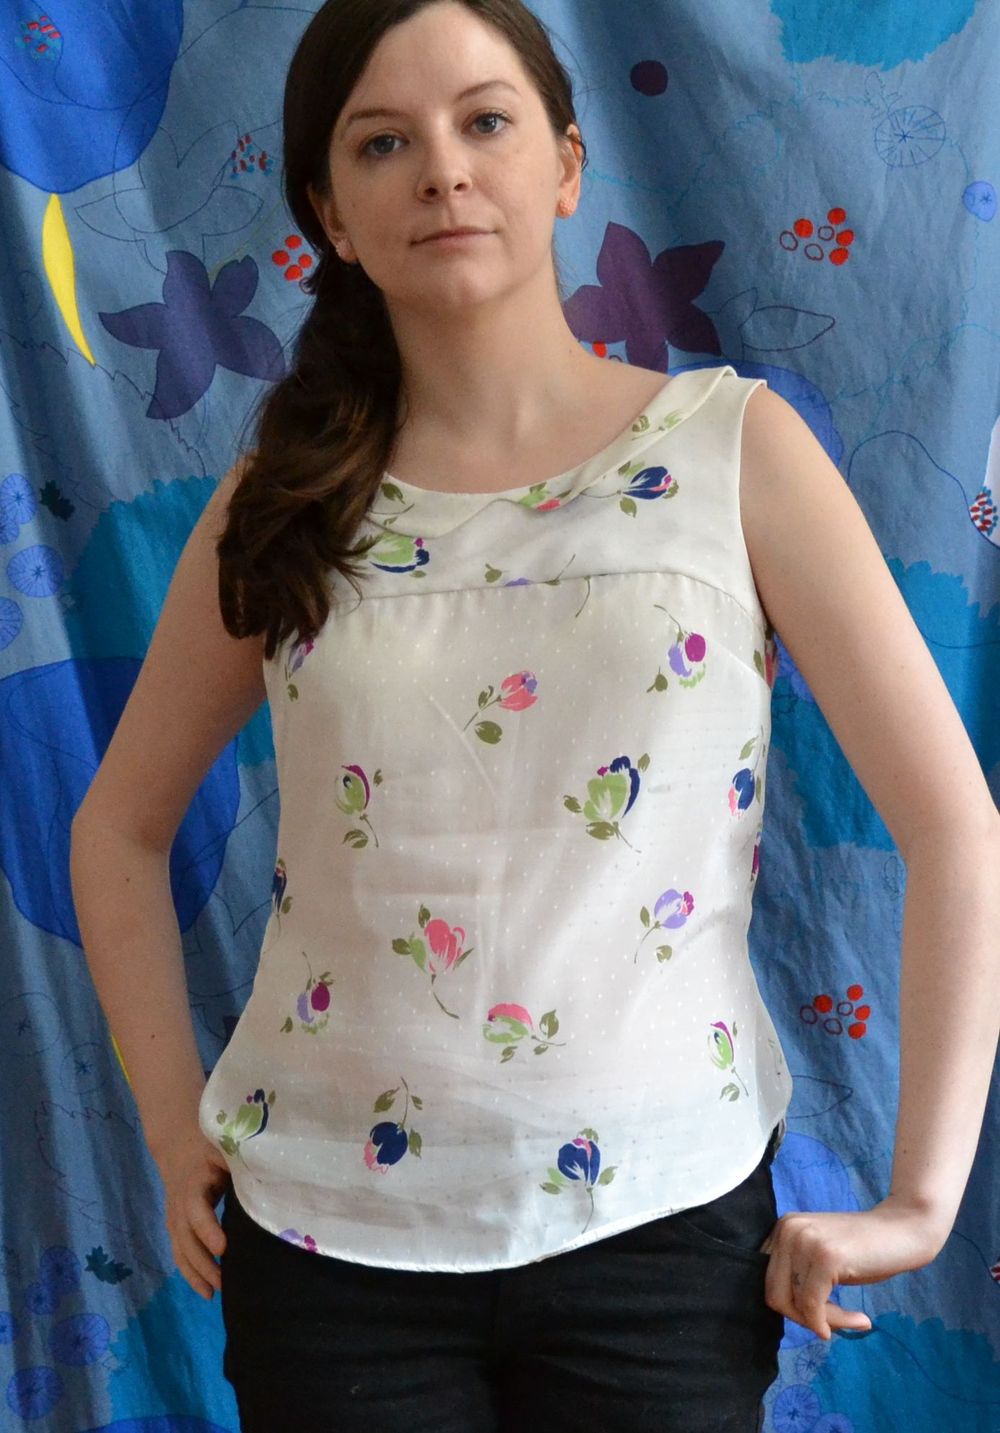
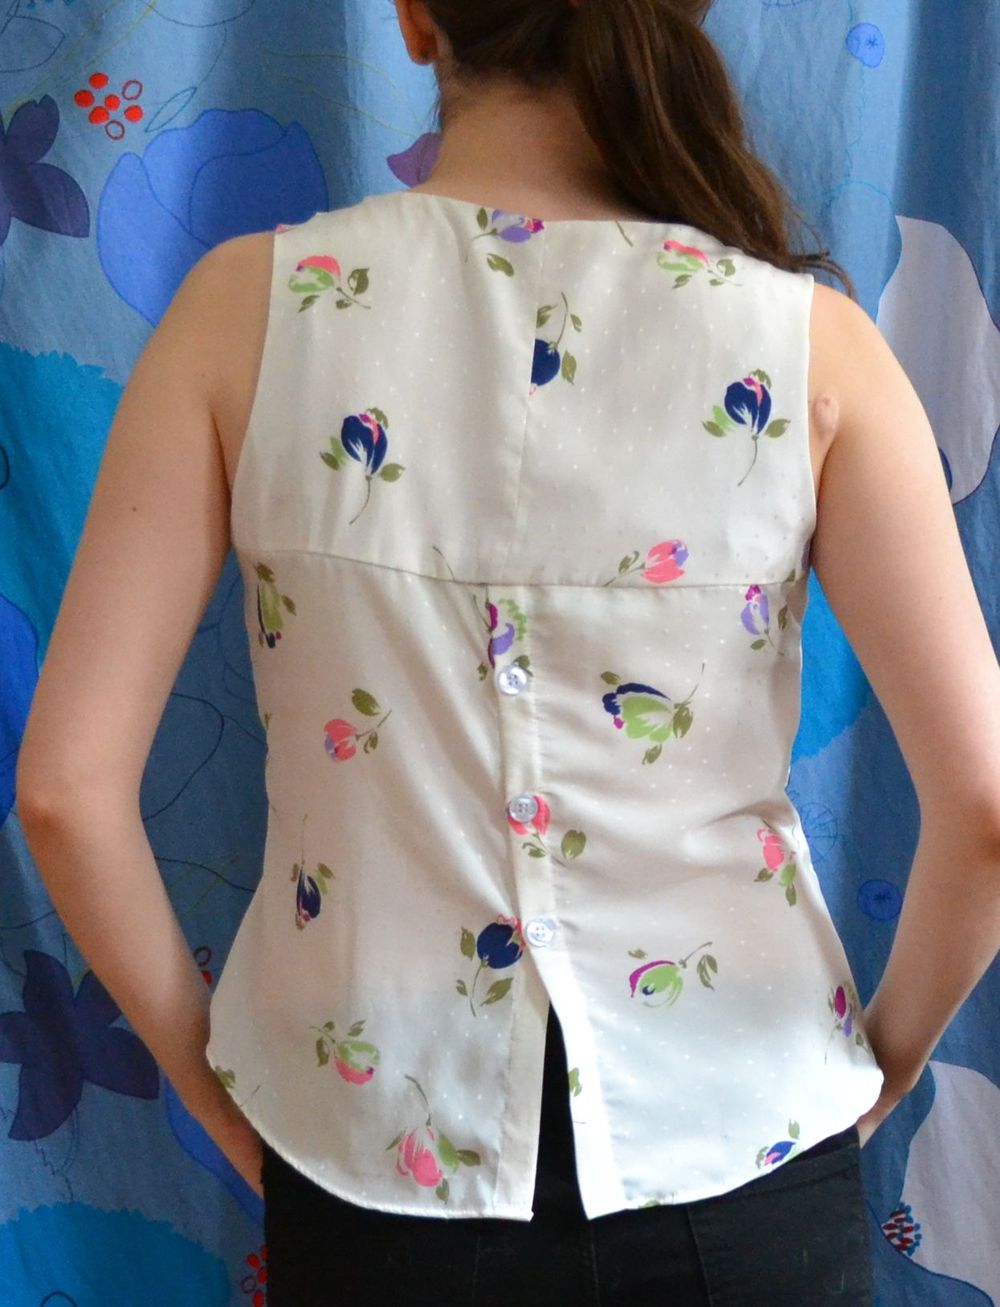
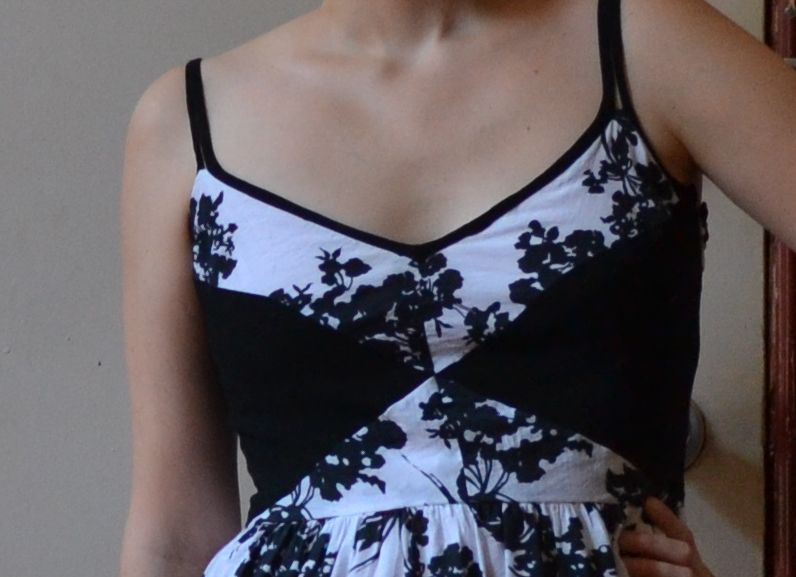
Here's my first take on the Deer & Doe Centaurée dress. I fell in love with this pattern as soon as I saw it, and originally tried to follow the sew-along that Deer & Doe hosted, but as usual I didn't actually end up finishing it by the deadline.
I envisioned this dress as something to be worn to a summer musical festival. After not being too interested music shows for the last few years, this summer I was excited to be going to the Toronto Urban Roots Festival to see Man Man, Neutral Milk Hotel, and my personal High School idol Jenny Lewis.
Well, the dress wasn't done in time and I had to make due with a different sundress, but I still wanted to finish the dress! It's a bit of a statement for everyday wear, but sometimes being overdressed is worth it. I wore it out this weekend with a slip, tights and boots which worked nicely so I think I won't be packing this one away with my other sundresses :)
Pattern Notes:
Although design wise Deer&Doe is one of my favourite indie pattern companies, with my boyish frame I'm pretty much the opposite of the hourglass figure they are designed for. I made my muslin up in 38B 40W 38H. From there I then had to make a SBA of about 1cm, which was pretty easy using the sew-along instructions. I then took in the side seams by about 2cm. I also altered the back high-lo to be 2 inches shorter at the back. (Note on the switching back and forth between metric and imperial... I actually do that a lot when sewing. I think it might be a Canadian thing as we're technically a metric country but since most of our media comes from the US imperial is used a lot too. I tend to use metric for small changes and imperial for larger ones. My sewing machine seam allowance marks on the throat plate are in imperial as well).
Both fabrics are from Fabric By Designer on Queen street in Toronto. Both are light drapey rayon. The white print is quite sheer so the dress is fully lined with white rayon. I only had a couple of issues with construction.
First was the side invisible zip which is not so invisible really. I tend to do a good job on my back centred invisible zips but my side zips are often a mess. All I can think of to maybe fix that would to interface the seam allowance in my next version, a step I generally skip. Any other side zip tips would be appreciated. I don't think it's that bad really, but I might not wear it around another sewist I was trying to impress :)
My other issue was with my self made bias binding. Even with my clover bias binding tool I hate making bias binding. HATE IT. Which I should work on I guess because it looks nice. I used this method and it turned out ok, but was a little uneven in some places.
Other upcoming projects are (hopefully): a Gertie Shirtwaist dress for a friend that I have been taking forever to finish and a Cat lady Datura. So until then happy sewing!
Sewing & Fabric Notes:
First was the side invisible zip which is not so invisible really. I tend to do a good job on my back centred invisible zips but my side zips are often a mess. All I can think of to maybe fix that would to interface the seam allowance in my next version, a step I generally skip. Any other side zip tips would be appreciated. I don't think it's that bad really, but I might not wear it around another sewist I was trying to impress :)
My other issue was with my self made bias binding. Even with my clover bias binding tool I hate making bias binding. HATE IT. Which I should work on I guess because it looks nice. I used this method and it turned out ok, but was a little uneven in some places.
Other upcoming projects are (hopefully): a Gertie Shirtwaist dress for a friend that I have been taking forever to finish and a Cat lady Datura. So until then happy sewing!